

Create a load balancer endpoint for FabricPool
 Suggest changes
When configuring StorageGRID for use with FabricPool, you must configure a load balancer endpoint and upload the load balancer endpoint certificate, which is used to secure the connection between ONTAP and StorageGRID.
-
You are signed in to the Grid Manager using a supported web browser.
-
You have the Root access permission.
-
You have the following files:
-
Server Certificate: The custom server certificate file.
-
Server Certificate Private Key: The custom server certificate private key file.
-
CA Bundle: A single optional file containing the certificates from each intermediate issuing certificate authority (CA). The file should contain each of the PEM-encoded CA certificate files, concatenated in certificate chain order.
-
For details about this task, see Configure load balancer endpoints.
-
Select CONFIGURATION > Network > Load balancer endpoints.
-
Select Create.
-
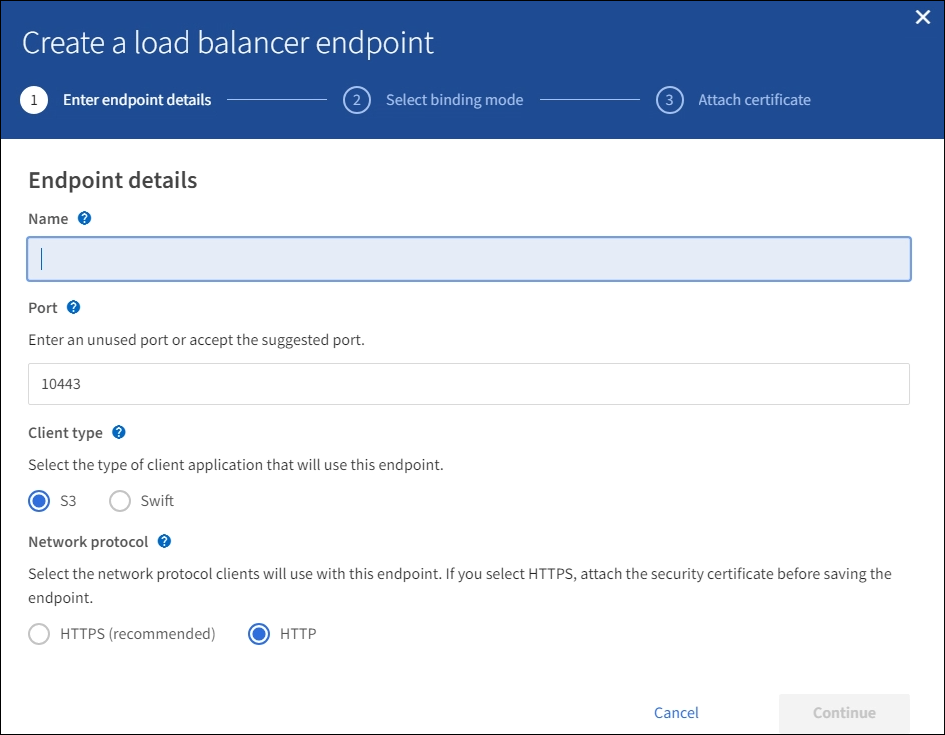
Enter endpoint details.
Field Description Name
A descriptive name for the endpoint
Port
The StorageGRID port you want to use for load balancing. This field defaults to 10433, but you can enter any unused external port. If you enter 80 or 443, the endpoint is configured only on Gateway Nodes, since these ports are reserved on Admin Nodes.
Note: Ports used by other grid services are not permitted. See the Network port reference.
You must provide this same port number to ONTAP when you attach StorageGRID as a FabricPool cloud tier.
Client type
Select S3.
Network protocol
Select HTTPS.
Note: Using HTTP is supported but not recommended.
-
Select Continue.
-
Specify the binding mode.
Use the Global setting (recommended) or restrict the accessibility of this endpoint to one of the following:
-
Specific network interfaces of specific nodes.
-
Specific high availability (HA) virtual IP addresses (VIPs). Use this selection only if you require much higher levels of isolation of workloads.
-
-
Select Continue.
-
Select Upload Certificate (recommended) and then browse to your server certificate, certificate private key, and optional CA bundle.
-
Select Create.

|
Changes to an endpoint certificate can take up to 15 minutes to be applied to all nodes. |