

Overview of cabling for a hot-add - NS224 shelves
 Suggest changes
You cable each NS224 shelf you are hot-adding so that each shelf has two connections to each controller in the HA pair.
This cabling section describes how to cable the NS224 shelf to the following storage systems:
About this task
-
This procedure applies to direct-attached storage only. To view instructions for switch-attached storage, view our switch-attached cabling guide.
-
Familiarize yourself with proper cable connector orientation, and the location and labeling of ports on the NS224 NSM100 shelf modules.
-
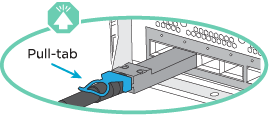
Cables are inserted with the connector pull-tab facing up.
When a cable is inserted correctly, it clicks into place.
After you connect both ends of the cable, the shelf and controller port LNK (green) LEDs illuminate. If a port LNK LED does not illuminate, reseat the cable.
-
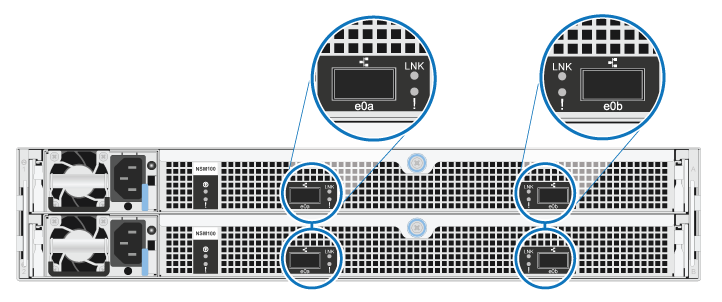
You can use the following illustration to help you physically identify the shelf NSM100 ports, e0a and e0b.
NSM100 modules-
An NS224 shelf contains two NSM100 modules. The top module goes in slot A (NSM A) and the bottom module goes in slot B (NSM B).
-
Each NSM100 module includes 2 x 100GbE QSFP28 ports: e0a and e0b.
NSM100B modules-
An NS224 shelf contains two NSM100B modules. The top module goes in slot A (NSM A) and the bottom module goes in slot B (NSM B).
-
Each NSM100B module includes 2 x 100GbE CX6/DX ports: e1a and e1b.

-
-
-
After you have cabled a hot-added shelf, ONTAP recognizes the shelf:
-
Drive ownership is assigned if automatic drive assignment is enabled.
-
NSM shelf firmware and drive firmware should be updated automatically, if needed.

Firmware updates can take up to 30 minutes.
-